If you're like me, you love vintage scarves for the versatility they can add to your wardrobe. Just as with all vintage clothing, I find the quality of vintage scarves to be much better than modern ones unless you're talking about a high end designer like Hermes whose quality has been consistent over the years. But you don't have to have your vintage scarves dry cleaned! I hand wash most of mine at home (exceptions would be those high end designers). Today, I thought I'd pass along my trade secrets about how to wash your vintage scarves.
The most common stains you'll find on vintage scarves are from makeup, perfume and food. Even if a scarf looks clean, I would recommend that you wash it before using it. And
don't iron a vintage scarf before cleaning! The heat of the iron will often reveal invisible stains and will set them in permanently. Hint: To avoid getting food stains on your scarves, turn them to your back or remove them entirely while eating.
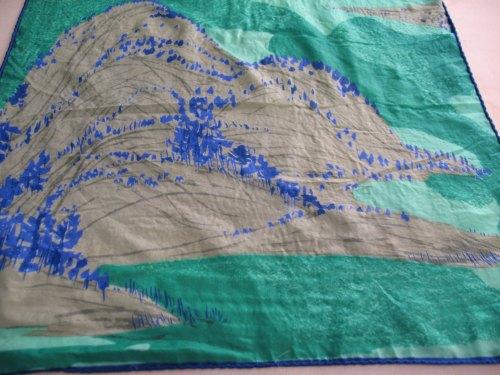
1. Examine your scarf closely for spots or stains. Holding a scarf up to a strong light source will often reveal stains that are hiding in the print. Here is a vintage Vera scarf that is a rayon/silk blend. Upon inspection, I found two brown spots. These look like old food stains to me and they may be tough to get out after 40 years, but let's see how it goes.
2. My secret ingredient is Dr. Bronner's Sal Suds. This is a mild biodegradable cleaner that I use diluted to wash dishes and clean my house. It is free of color and preservatives and has never damaged any of the hundreds of scarves I have washed it with in several years. If you'd rather use something else, choose a gentle baby shampoo or soap made to wash delicates, but be sure it has no dyes or perfumes in it.
3. If your scarf is older than the mid 70s, test a tiny drop of whatever cleaner you are using on an inconspicuous spot. Let it sit for a few minutes and then rinse to see if the dyes fade. If so, skip steps 4 and 5 and just do an allover wash with no concentrated stain removal.
4. Lay the scarf on a clean surface that will not be affected by dye. Dribble a few drops of full-strength Dr. Bronner's Sal Suds on the spots.
5. Rub the Sal Suds into the spots and let it sit for at least 10-15 minutes. For greasy stains, I'll let it sit for about a half hour.
6. Put the scarf in a basin and add tepid water. There is enough Sal Suds on the stains to make plenty of suds, so you don't need to add more. Swish the scarf around for a minute or so to clean the entire thing. Lift the scarf out of the sudsy water, supporting it from underneath. DON'T squeeze or wring it out! You may see a bit of color come off in the water, but this is normal. Don't leave your scarf to soak in the water for this reason, though. Rinse the scarf thoroughly under running tepid or cool water. When the water runs clear and all suds are gone, gently lift the scarf from underneath. DON'T squeeze out the water. DON'T wring or twist the wet scarf! Let much of the water drain off the scarf while supporting it in your hands.
7. Lay the wet scarf out on an absorbent bath towel. Lay it flat with no folds or wrinkles.
8. Roll the scarf up in the towel to remove the excess water. Unroll the towel and let the scarf lay flat for about 10-15 minutes. Important: Don't let it dry completely!
9. You can see that the scarf has wrinkles and dimples from being rolled in the towel. That's OK!
10. While the scarf is STILL DAMP, iron it on a low/medium setting. I use a poly/blend setting on my iron, as the silk setting is too hot for wet silk. The warm iron will magically dry the silk as you iron it. If your scarf has rolled edges, avoid flattening them by just ironing up to the edge, but not over it.
11. Voila! A clean scarf that is ready to wear!
As I suspected, those food stains were not destined to come out completely, but the stains faded quite a bit and the scarf brightened up nicely. The beauty of wearing a scarf is that when you fold it or tie it, you can hide those stubborn spots that are permanent.